

Benefits of Hydronic Radiant Floor Heating
More efficient than air
Unlike forced-air heating systems that blow hot air through ducts and vents, hydronic heating systems use hot water to transfer heat through pipes installed under the floor. This results in a more efficient and even distribution of heat that is less prone to heat loss and air leakage.
Improved comfort
Radiant floor heating systems provide a more uniform and consistent temperature that eliminates cold spots and drafts. This creates a cozy and inviting atmosphere that promotes relaxation and well-being.
Less allergens
By not using air ducts or grills, radiant heating systems can help reduce the amount of dust, mold, and other allergens that can accumulate in the air and cause respiratory problems.
Quiet operation
Since there are no noisy fans or blowers involved, hydronic radiant floor heating systems operate quietly and without any disturbance to your daily activities.
Higher resale value
Homes and properties with radiant floor heating systems are highly desirable among buyers due to their energy efficiency, comfort, and aesthetic appeal. Installing a hydronic radiant floor heating system can increase the resale value of your property and provide you with long-term savings on heating costs.
Improved temperature control
Radiant heating systems can be zoned to customize temperatures in various areas and rooms, allowing for more precise control over the temperature in your home or business. This level of temperature control can lead to increased energy savings and improved comfort.
Experience the Ultimate Comfort and Energy Efficiency with Our Hydronic In-Floor Heating Services
Our in-floor heating services have helped businesses and homeowners with:
- Consultations about the appropriate heating solutions that use hydronic technology.
- Planning the changeover from previous heating systems to hydronics.
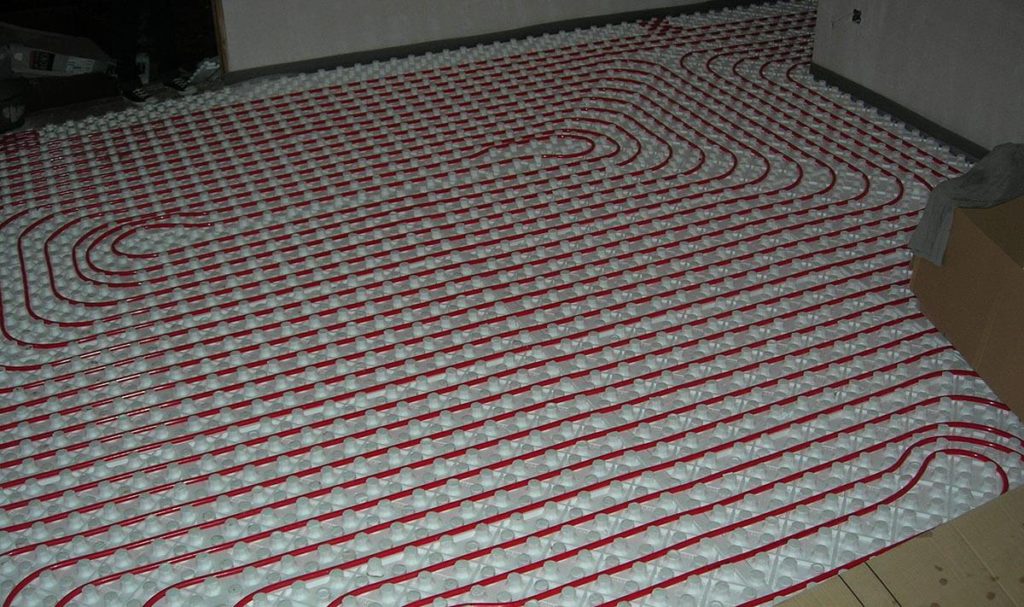
- Installation of hydronic in-floor systems, including pipes, heat exchangers and other fixtures.
- Adjusting the settings of and ensuring that the hydronics installation operates efficiently.
The installation of hydronic in-floor heating will radically change the comfort of any home or business, because of the quality of the heat generated by this type of system. Rather than heated air being blown loudly through A/C, this method quietly and smoothly infuses rooms with heat. An expert in plumbing and drain installation will be able to ensure that the heat circulated throughout the pipes under the floor remains constant, ensuring that you enjoy the benefits of energy savings as well as the increased comfort level over other heating systems.

Hydronic Radiant Floor Heating FAQ
Book Us For Hydronic In-floor Heating Tank Services In Toronto and the GTA
With 25 years of experience with plumbing and drainage systems throughout the Greater Toronto Area, MT Drains & Plumbing is able to install the latest heating technology for commercial and residential properties, including hydronic in-floor solutions.
You can contact us any time by calling us at 1-833-363-7323