

Are you planning to install double kitchen sink plumbing but don’t know where to start? If so, read on.
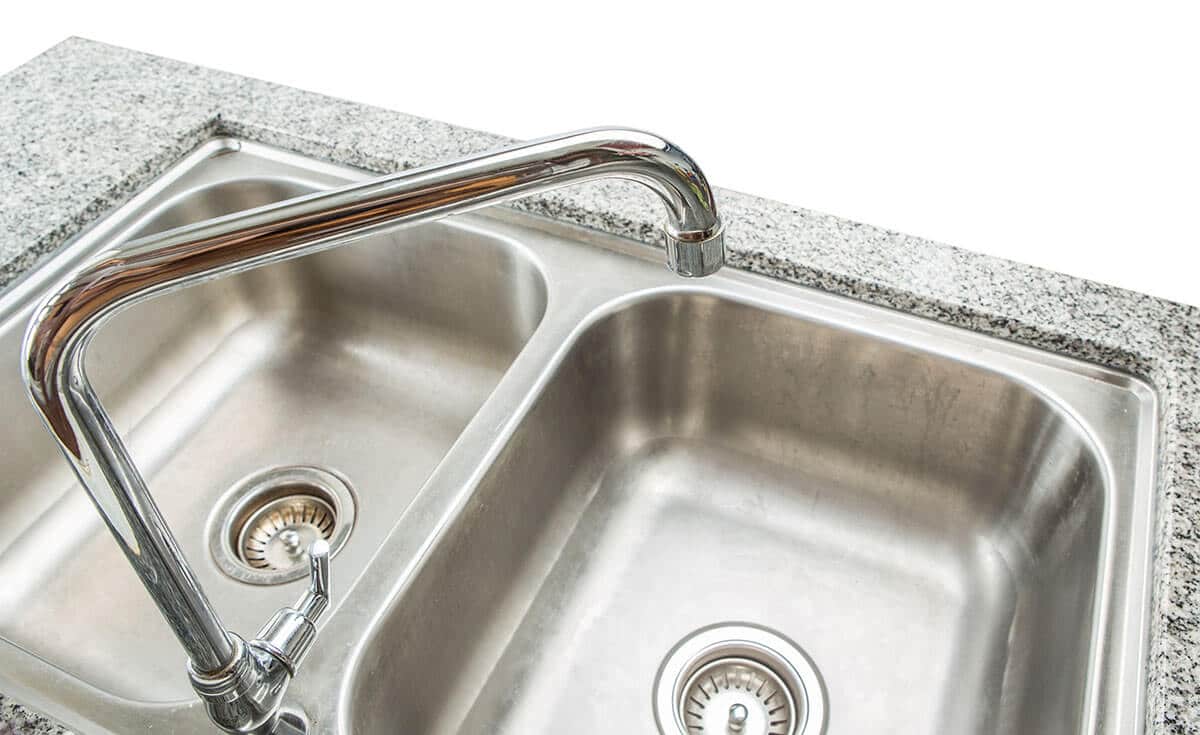
There are many reasons why people prefer a double kitchen sink over a single basin sink. In particular, a double kitchen sink can help you to improve your kitchen hygiene. You can wash your utensils on one side and rinse on the other side. You can even designate one of the sinks for food preparation only.
However, if you don’t have any plumbing experience, you’ll have to work with tools and materials you’ve never used before.
But don’t worry – we’re here to help you every step of the way.
What Do You Need?
Like any other plumbing fixture, kitchen sink plumbing can be a bit challenging if you’re not a professional plumber. Be that as it may, you shouldn’t be too worried. As long as you have some basic plumbing knowledge, you should be good to go.
The items you’ll need are:
Tools
- Screwdriver
- Measuring tape
- Putty knife
- Pipe wrench
- Safety glasses
- Pliers
- Marker
- Hacksaw
Materials
- Compression nuts
- Washers
- New double sink
- Plumber’s putty
- Sanitary tee
- PVC pipe
- Teflon tape/Silicone sealant
- Kitchen drain trap kit
Although some of the double kitchen sinks on the market come with a separate p-trap for each bowl, most of them are designed to work with a single trap which then connects to the drain pipe.
There are many ways to install a double sink drain, but the most common approach involves connecting the two sinks using a horizontal drain arm that’s connected to the p-trap via a sanitary tee fitting. The presence of a garbage disposal in one of the sinks makes the installation of double kitchen sink plumbing slightly more challenging. But if done right, your sink can serve you for years without any problems.
Most disposals can be modified to fit a double bowl system.
How to Install the Sink
1. Shut Off Water Valve
In any plumbing exercise, you can’t do much if the pipes are turned on. You should shut off the valves typically found below the sink. If you can’t find these, turn off the main water supply line to your property.
2. Install Drain Assembly
Next, you need to install the drain assembly. The assembly is made up of the flange and popup (also called the stopper), the main body under the sink, and the ball-and-rod unit which helps coordinate the movement of the stopper.
Before setting up the sink in the cabinet, you need to install the drain assembly in the wall opening at the bottom of one of the sinks. You should then repeat the process by installing the garbage disposal unit in the other wall opening. To ensure that each hole is leak-proof, use generous amounts of plumber’s putty. You should use an adjustable pliers to tighten the screws.
3. Install The Sink
After that, affix the sink into the cabinet. Every sink comes with clips which attach to the cabinet. Drive the clips into the cabinet using a screwdriver.
4. Mount Garbage Disposal
Now, mount the garbage disposal unit in the holder. From experience, this is one of the most technical parts of the installation, and you may want to look at the manufacturer’s manual for specific guidelines. The general process involves rotating the disposal unit counterclockwise to lock it in place.
5. Install Tail Piece
At this point, you’ll now need to work on the tail piece on the sink without the disposal unit. The tail piece should be connected to the threaded drain outlet with a slip nut. The slip nut is a soft threaded ring that can be affixed by hand. Alternatively, you can install it using channel-type pliers, but you’ll need to be gentle with it.
6. Connect Sanitary Tee To The Tailpiece
After that, connect the sanitary tee to the tailpiece using a plastic compression nut. The compression nut can be tightened by hand. You may also insert a compression washer to ensure that the tailpiece is firmly connected to the tee.
Using a measuring tape, establish the distance between the tee outlet and the garbage disposal unit outlet. Then cut a piece of pipe from that length using a hacksaw to connect the disposal unit and the tee. Remember to use compression nuts and washers on either end to lock it in an airtight connection.
7. Insert P-Trap
Finally, insert the p-trap assembly into the lower end of the tee. Then connect the p-trap to the drain inlet on the wall. You should also wrap an adapter around the p-trap to prevent leaks.
Our Plumbing Tips
- At the end of the exercise, turn the water on to check for leaks. You may eliminate leaks by tightening the screws as well as applying plumber’s putty. If the leaks persist, you should remove the screws, reposition the washers, and then re-tighten the screws.
- Since you may not have all the tools you need to complete the installation, you can purchase or rent them at the nearest home improvement store. Kitchen sink kits come in a variety of sizes, and you should consult the sales agent to make sure you buy the correct items.
- There are both plastic and metallic compression fittings, but most plumbers prefer plastic ones because they are easier to work with and don’t corrode.
- Teflon tape can be a replacement for plumber’s putty. However, you’ll not need it for plastic installations.
- Try to be accurate when cutting various pipes. In particular, you need to be very precise when you need to adjust pre-assembled sink kits which usually require very minimal cutting.
Do You Need a Professional Plumber to Install Double Kitchen Sink Plumbing?
When installing double kitchen sink plumbing, there are many things that could go wrong. For instance, you may purchase an incorrect kit assembly and end up incurring unnecessary costs. Mistakes made when adjusting kitchen sink plumbing pipes could cause leaks that will result in inflated water bills and unsightly mold throughout your kitchen.
The experienced hand of a professional plumber can help you avoid all these issues.
Why Should You Choose MT Drains & Plumbing
MT Drains & Plumbing has been in the plumbing industry for over 20 years and brings a wealth of experience to all kinds of plumbing work. All our plumbers are known for precision and unmatched professionalism. If you need your kitchen sink fixed quickly without worrying about leaks and substandard fittings, contact us right away.